BREW RATIO – 15:240
great for beginners the aeropress is not only simple to use, it’s also small enough to take with you anywhere and our no.1 go-to travel companion. one of the best features of the aeropress is its versatility.
there’s a huge range of recipes & ways to brew, and just like every brew method, there’s no one-size-fits-all. coffee is individual and like any recipe, we recommend using this a base to build & experiment upon. that way you can find a recipe that’s best suited to your coffee drinking style.
there are two ways of aeropress brewing – this guide is for the traditional method, the other is the inverted method.
YOU’LL NEED:
~ 15g fresh coffee beans
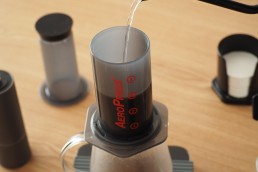
~ clean water
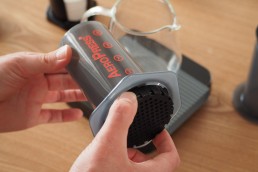
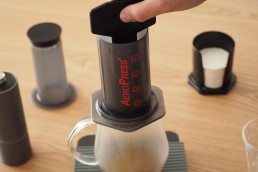
~ aeropress & round filter paper
~ grinder: we used the Timemore C
~ kettle or something to boil your water – ours is the Fellow Stagg EKG electric
~ scales: we used the Acaia Pearl scales – you’ll also need a timer if your scales don’t have one built in
~ stirrer – the one from the aeropress is perfect.
~ mug or carafe (to decant your brew into)

step seven.
SERVE & ENJOY
Place your Aeropress into a separate cup or just pop it in the sink. enjoy your coffee!
HANDY HINTS:
~ after you’ve poured all your water, you can place your plunger slightly inside the Aeropress to stop it from dripping.
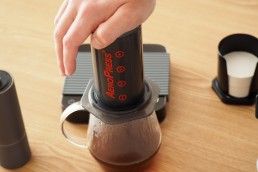
~ be sure not to press on your scale as the pressure could damage it.
~ the key is to press slow and steady, you can use one hand to hold the Aeropress in place.
need to update your gear?
we proudly stand by & recommend all the brew gear we use in our guides – head over to out store to add to cart!


